Pool Chemistry Testing

Swimming Pool Chemistry Testing
1. Get Your Supplies
- Water Test Kit: Have a reliable test kit or test strips.
- Sample Container: Use a clean container to collect water samples.
- Pen and Notebook: To record the test results for reference.
2. Water Sample
- Location: Collect water from elbow depth (about 12-18 inches below the surface) away from the return jets and skimmers.
- Timing: Take the sample when the water is calm, typically before adding any chemicals.
3. Testing pH Levels
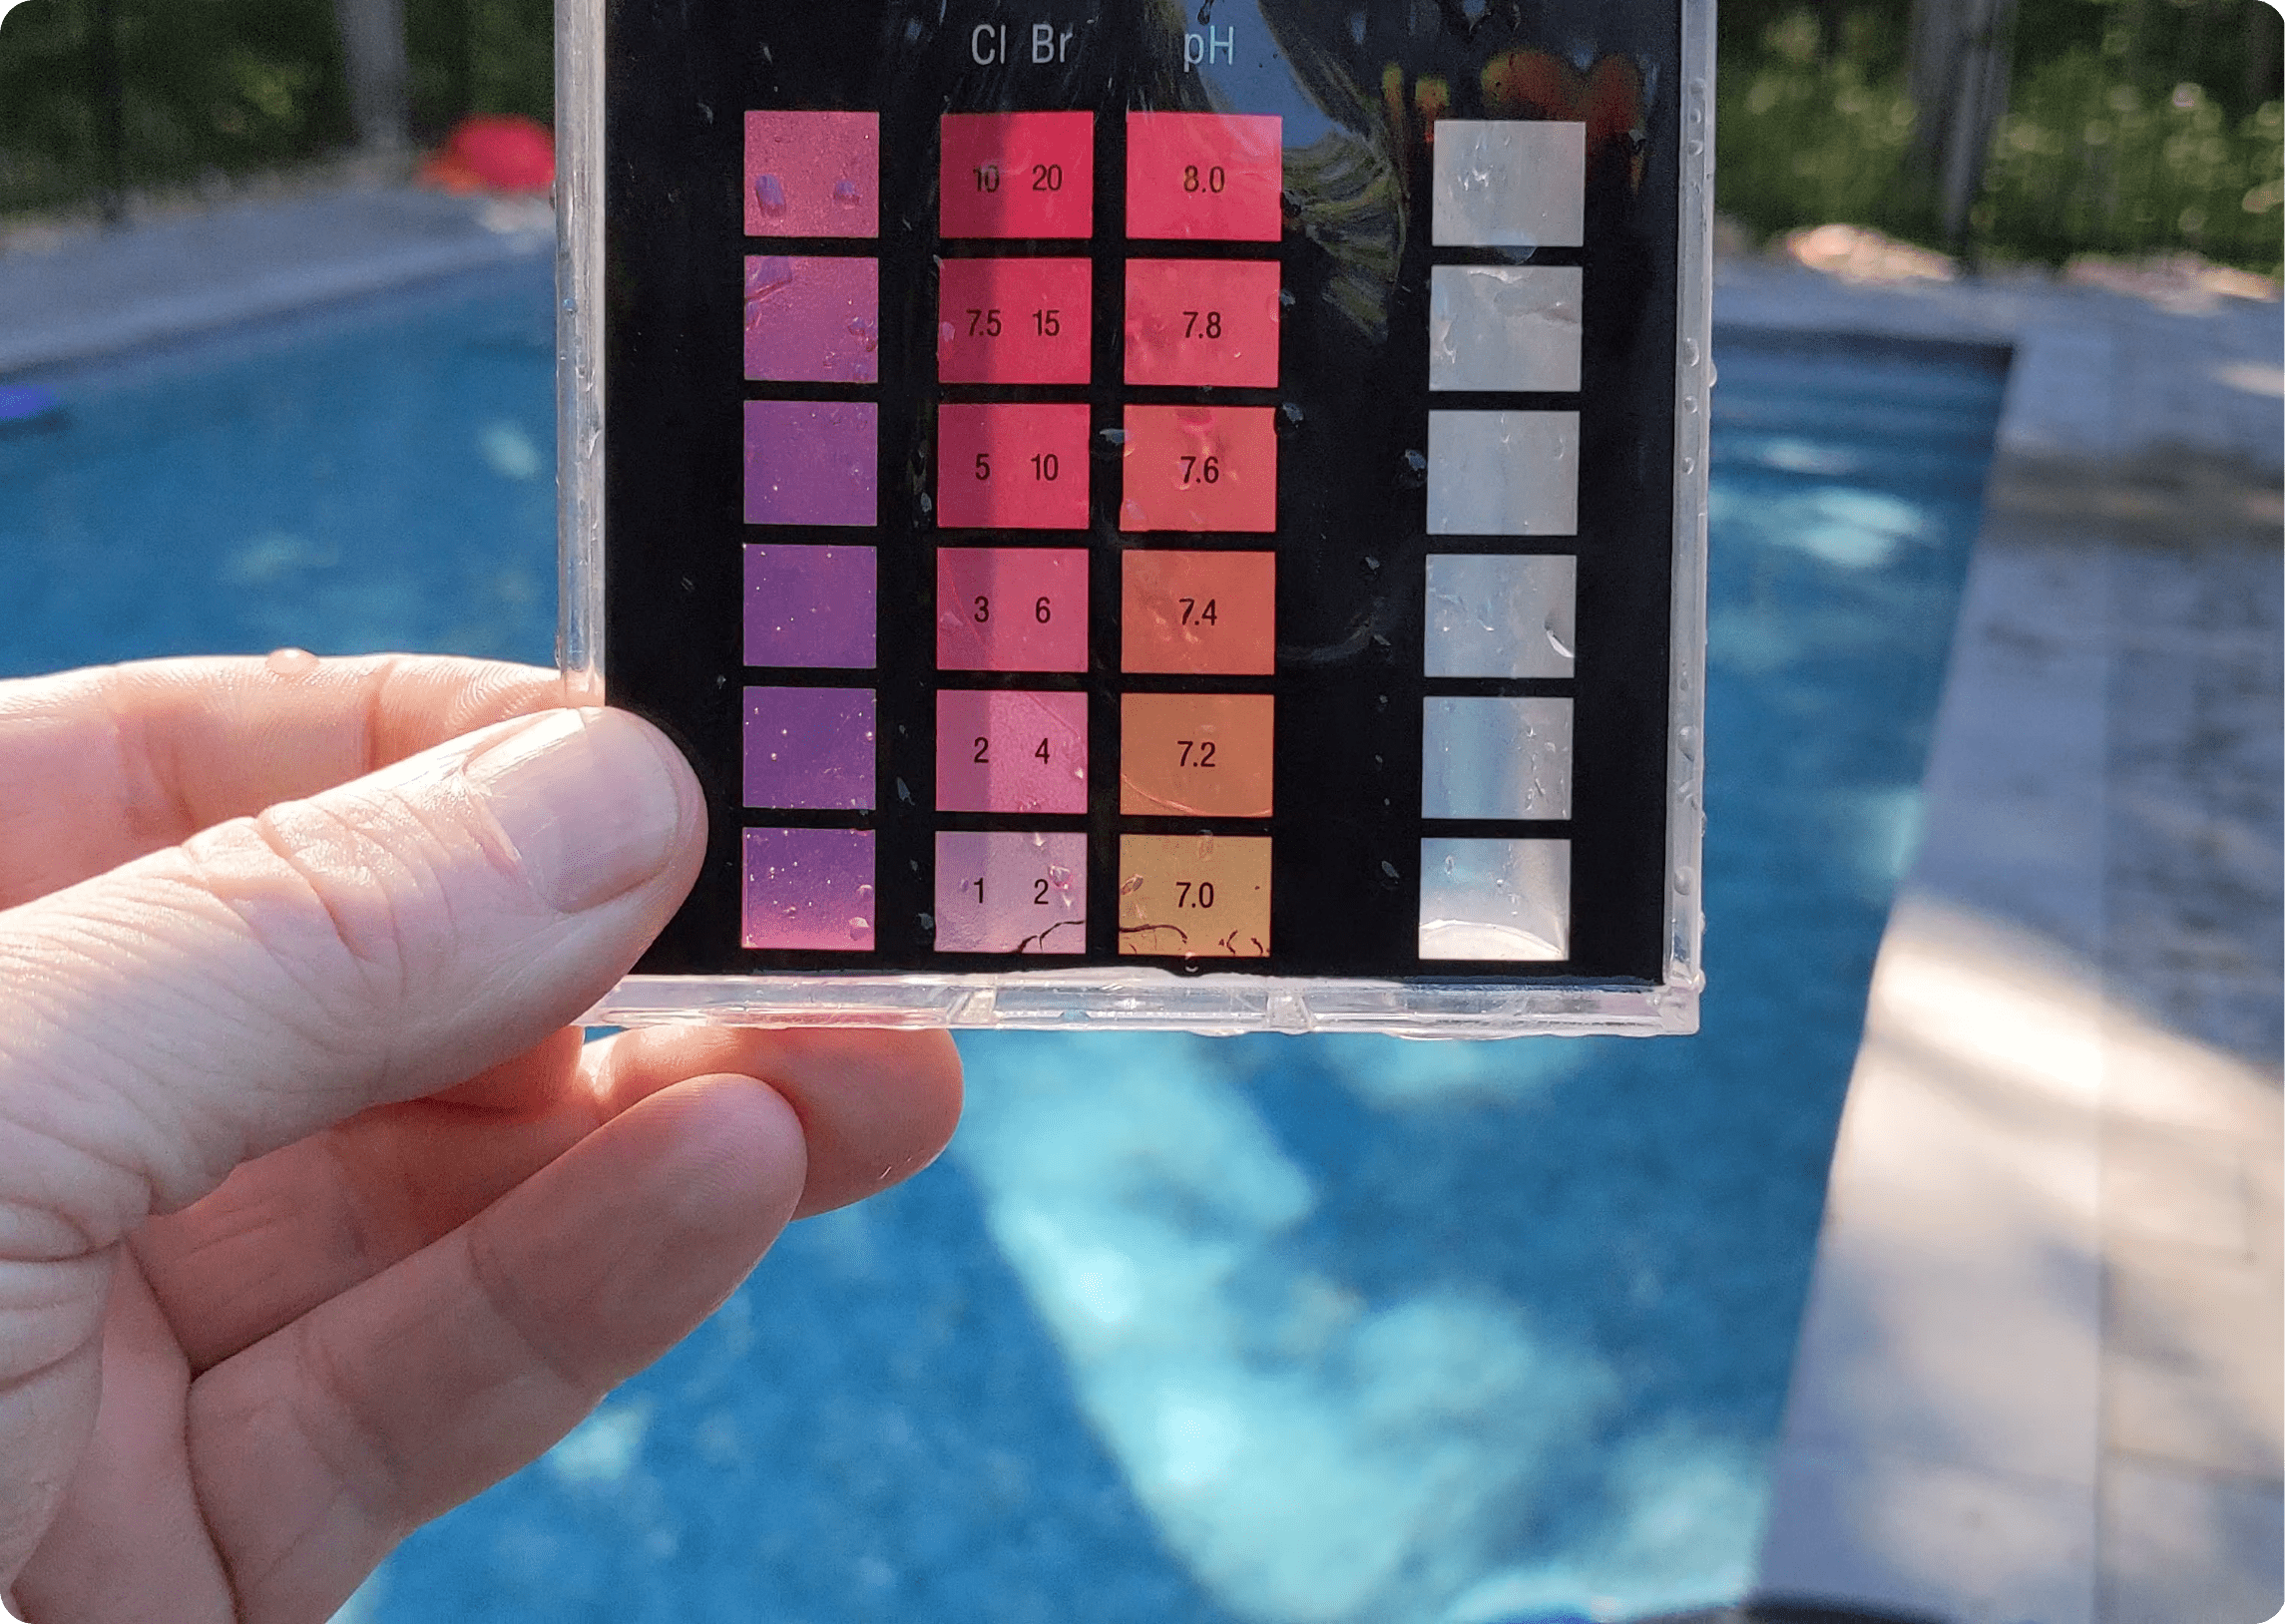
- Ideal Range: 7.2 – 7.6
- Procedure: Follow the instructions on your test kit to measure pH levels. Moreover, add a few drops of the pH reagent to the water sample or dip the test strip into the sample and wait for the color change.
- Adjustment: If the pH is too low, add pH increaser. If it’s too high, add pH decreaser.
4. Total Alkalinity
- Ideal Range: 80 – 120 ppm (parts per million)
- Procedure: Use the test kit to measure total alkalinity. Typically, this involves adding a reagent to the sample and counting the drops until a color change occurs.
- Adjustment: Use an alkalinity increaser or decreaser based on the results.
5. Test Sanitizer Levels
- Chlorine: 1 – 3 ppm
- Bromine: 3 – 5 ppm
- Procedure: Measure the sanitizer level using the test kit. The process usually involves adding a reagent or using a test strip.
- Adjustment: Add chlorine or bromine as needed to maintain proper levels.
6. Calcium Hardness
- Ideal Range: 200 – 400 ppm
- Procedure: Use the test kit to measure calcium hardness. Add reagents to the water sample and note the results.
- Adjustment: Add calcium increaser if levels are too low. Use a water softener if levels are too high.
7. Cyanuric Acid (Stabilizer)
- Ideal Range: 30 – 50 ppm
- Procedure: Use the test kit to measure cyanuric acid. Typically involves adding a reagent to the sample and observing the results.
- Adjustment: Add a cyanuric acid stabilizer if levels are too low. Drain and dilute the pool water if levels are too high.
8. Record Your Results
- Documentation: Write down the test results in a notebook or log to track changes over time.
9. Adjust Water Chemistry
- Balance Chemicals: Based on the test results, adjust the water chemistry by adding the necessary chemicals in small increments.
- Re-test: After making adjustments, wait a few hours and then re-test to ensure the levels are correct.
10. Routine Testing
- Frequency: Test the water chemistry at least once a week to maintain optimal conditions.
- Additional Checks: Test after heavy usage, after rainfall, or after adding fresh water.
Regularly testing and adjusting your swimming pool’s water chemistry ensures a safe and enjoyable swimming experience. If you have any specific questions or need further assistance, feel free to ask!
