Hot Tub Chemistry Testing

Hot Tub Chemistry Testing
Maintaining balanced hot tub chemistry in your hot tub is crucial to prevent problems like cloudy water and algae, safeguard your health by avoiding irritations such as rashes, and protect your spa’s components from potential damage.
1. Gather Supplies
- Water Test Kit: Ensure you have a reliable test kit or test strips.
- Sample Container: Use a clean container to collect water samples.
- Pen and Notebook: To record the test results for reference.
2. Collect Water Sample
- Location: Collect water from the center of the hot tub, at elbow depth (about 12-18 inches below the surface).
- Timing: Take the sample when the water is calm, typically before adding any chemicals.
3. Test pH Levels
- Ideal Range: 7.2 – 7.8
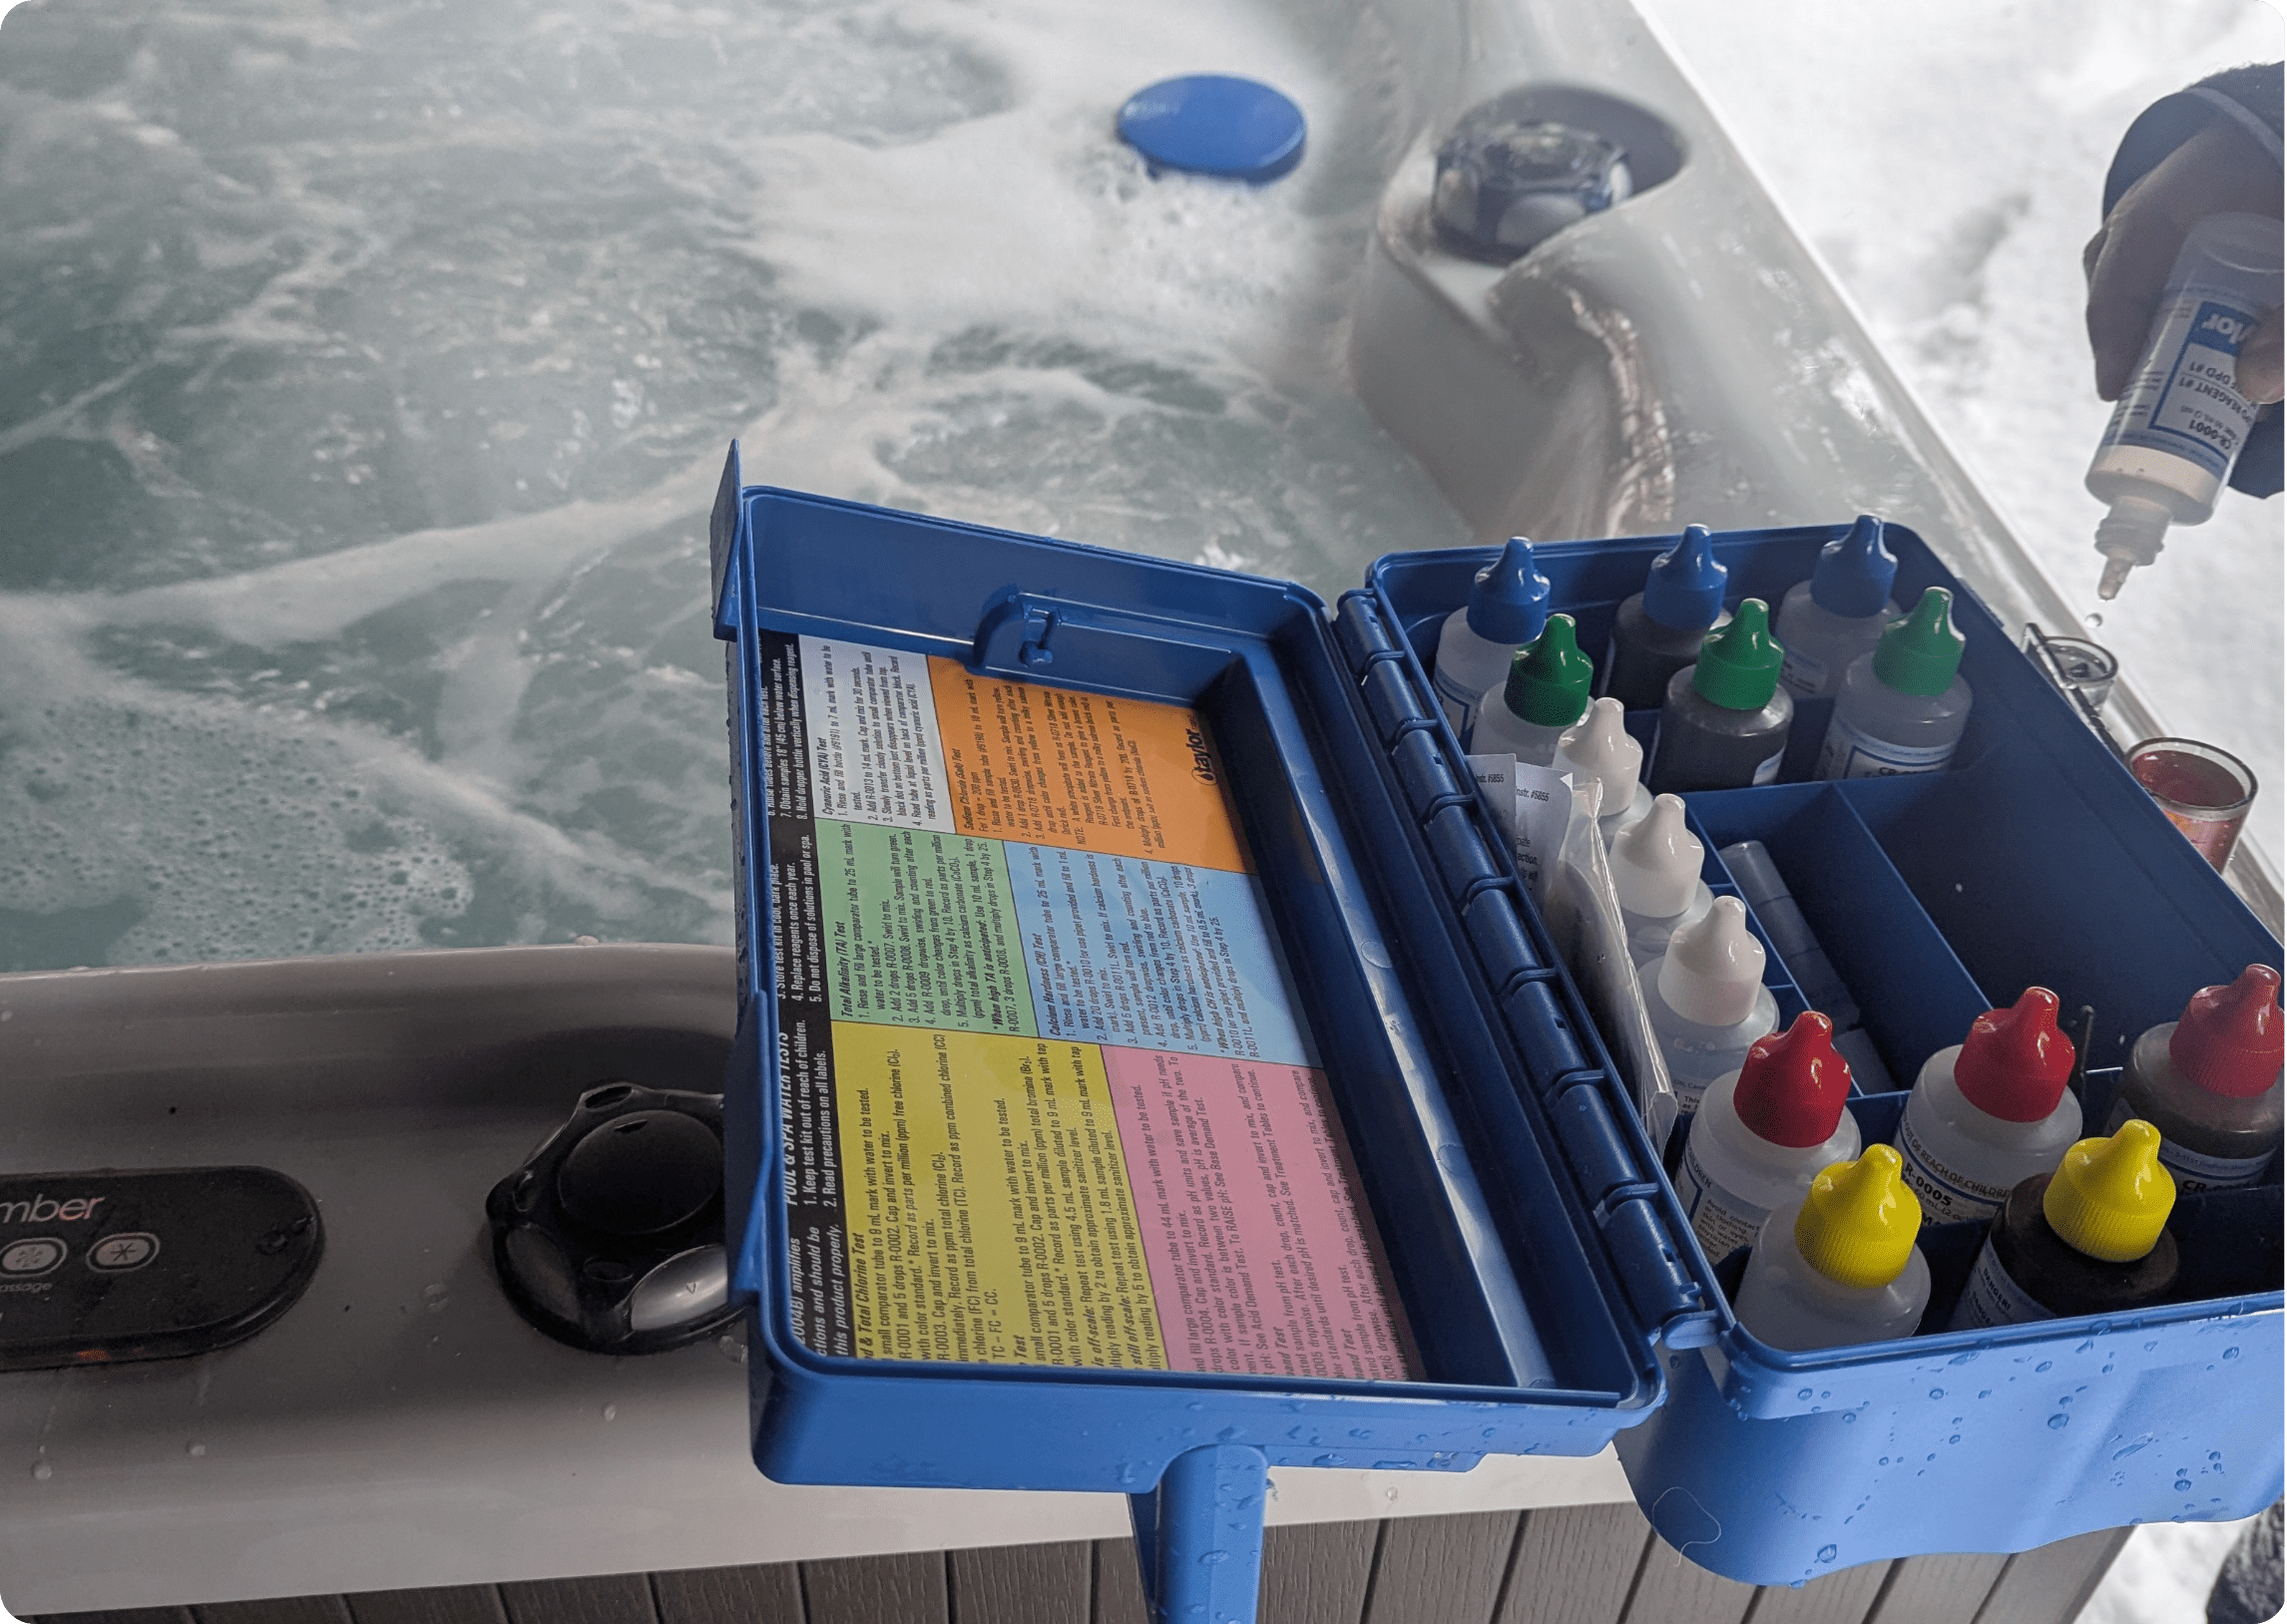
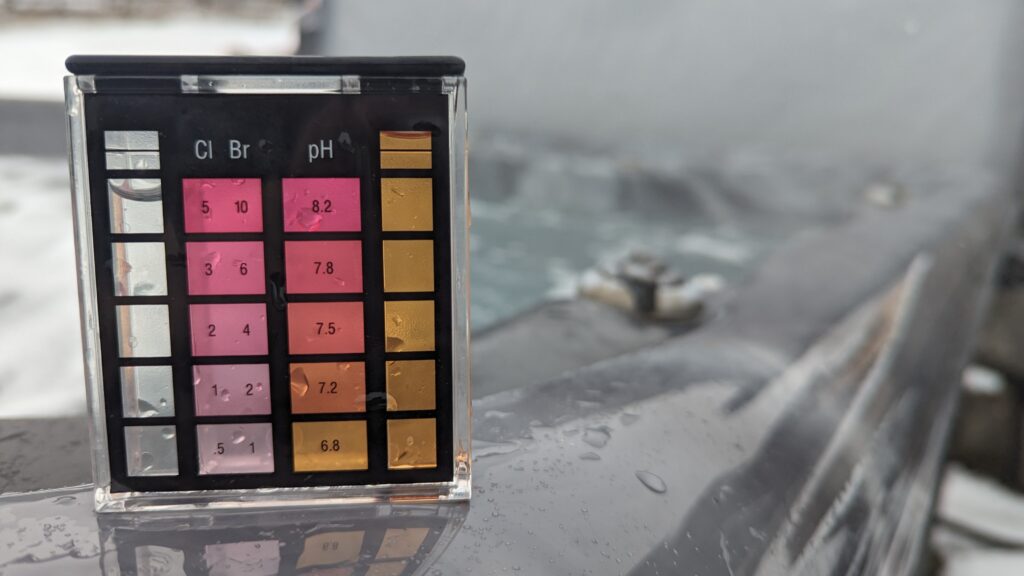
- Procedure: Follow the instructions on your test kit to measure pH levels. Add a few drops of the pH reagent to the water sample or dip the test strip into the sample and wait for the color change.
- Adjustment: If the pH is too low, add pH increaser. If it’s too high, add pH decreaser.
4. Test Total Alkalinity
- Ideal Range: 80 – 120 ppm (parts per million)
- Procedure: Use the test kit to measure total alkalinity. Typically, this involves adding a reagent to the sample and counting the drops until a color change occurs.
- Adjustment: Use an alkalinity increaser or decreaser based on the results.
5. Test Sanitizer Levels
- Chlorine: 1 – 3 ppm
- Bromine: 3 – 5 ppm
- Procedure: Measure the sanitizer level using the test kit. The process usually involves adding a reagent or using a test strip.
- Adjustment: Add chlorine or bromine as needed to maintain proper levels.
6. Test Calcium Hardness
- Ideal Range: 150 – 250 ppm
- Procedure: Use the test kit to measure calcium hardness. Add reagents to the water sample and note the results.
- Adjustment: Add calcium increaser if levels are too low.
7. Test for Metals (if applicable)
- Copper/Iron Presence: Use a specialized test kit if you suspect metals in your water.
- Adjustment: Use a metal sequestrant to remove metals if necessary.
8. Record Results
- Documentation: Write down the test results in a notebook or log to track changes over time.
9. Adjust Water Chemistry
- Balance Chemicals: Based on the test results, adjust the water chemistry by adding the necessary chemicals in small increments.
- Re-test: After making adjustments, wait a few hours and then re-test to ensure the levels are correct.
10. Routine Testing
- Frequency: Test the water chemistry at least once a week to maintain optimal conditions.
- Additional Checks: Test after heavy usage or after adding fresh water.
Frequently testing and adjusting your hot tub’s water chemistry is vital for maintaining a clean, safe, and comfortable environment. Proper chemical balance not only ensures crystal-clear water but also prevents the growth of harmful bacteria and algae, extending the lifespan of your hot tub’s components. By dedicating a little time to regular maintenance, you’ll create the perfect setting for relaxation and enjoyment. So, dive in and soak worry-free!
